Clear and effective communication within and outside the team is essential to a company’s success, as it prevents costly mistakes such as missed deadlines and incorrect results. Communication software solutions improve the daily exchange of information and the efficiency of teamwork. These platforms are needed to facilitate better collaboration and connection internally as well as with customers and partners. From one-on-one meetings to online video conferencing, communication tools help make conversations with team members and customers easier, more convenient and more cost-effective.
Rocket.Chat is the leading free open source team collaboration tool that allows you to control communications, manage your data and have your own collaboration platform. The software can be deployed as an on-premises self-host or run as a cloud-based solution. With Rocket.Chat, you can easily communicate and collaborate with the team, share files, chat in real time or switch to video/audio conferencing for more productive teamwork. It is the largest and most active open source team chat solution with an extensive feature set, including :
- Safe workspaces for highly secure conversations
- Audio and video conferencing
- Screen sharing
- File sharing
- Guest access
- Real-time chat
- Real-time translation
- Full customisation
- Easy software integration
- Clear user interface
- Easy to use data importers
- Powerful APIs
- Web, desktop and mobile applications are available and more.
Automatic deployment of Rocket.Chat
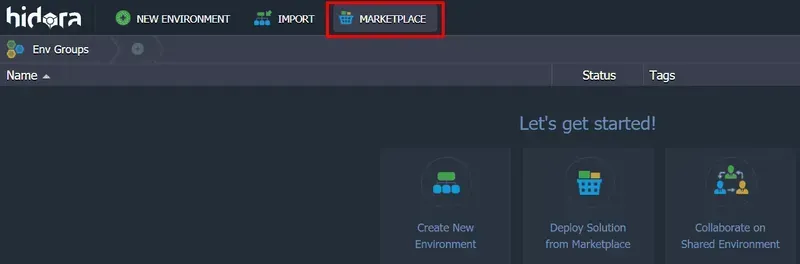
1. Log in to your Hidora Cloud dashboard.
2. Open the marketplace.
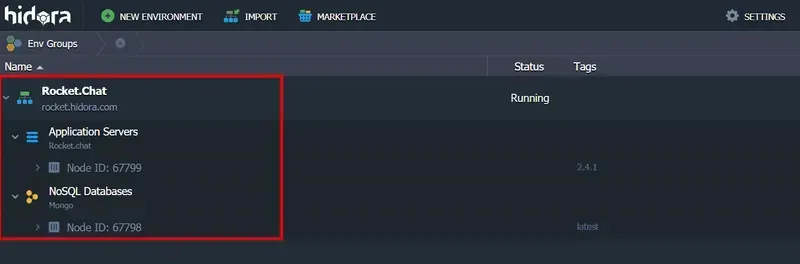
3. Find Rocket.Chat in the list and install it. The automatically generated environment name can be changed to whatever you want.

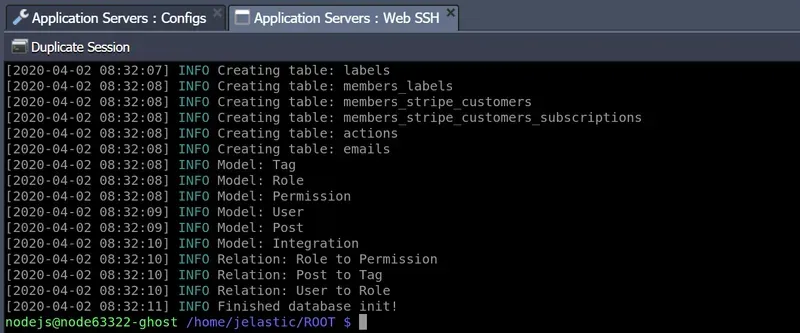
4. In a few minutes, the installation will be complete. You will see the Rocket.Chat environment, which contains the Docker container and the MongoDB NoSQL database.
5. You can now open Rocket.Chat in your browser and perform all the necessary configuration and customisation steps.
6. First, enter your user information and your Rocket.Chat administrator credentials (name, username, organisation email and password).

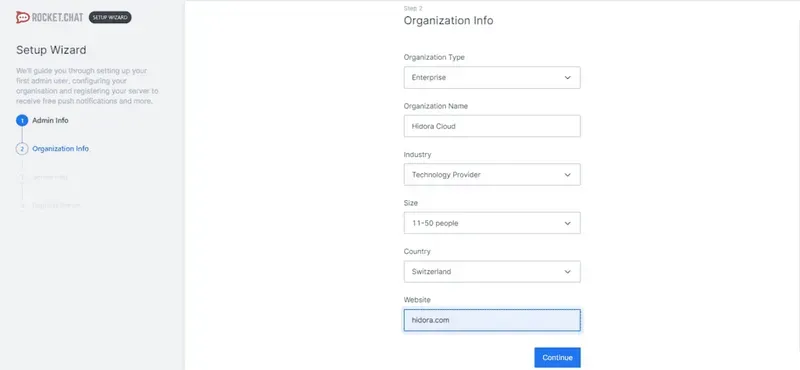
7. Fill in the information about your organisation (type, name, sector, size, country and website).
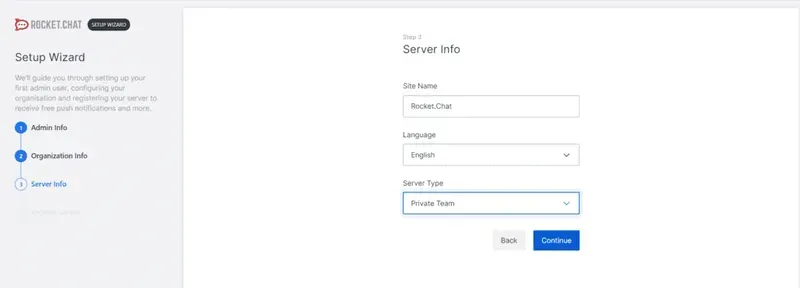
8. Specify the server information (site name, language and server type).
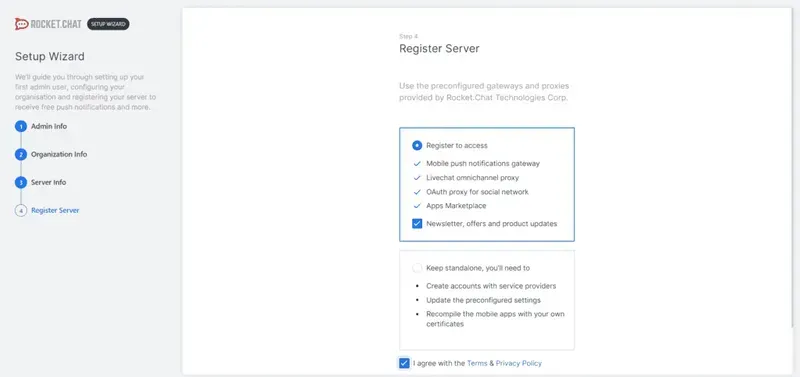
9. The final step in the configuration is server registration: use the pre-configured gateways and proxies provided by Rocket.Chat to do this, and read and accept the terms and conditions and privacy policy.
10. Go to your workspace to configure by clicking on the appropriate button in the dialog window that appears.
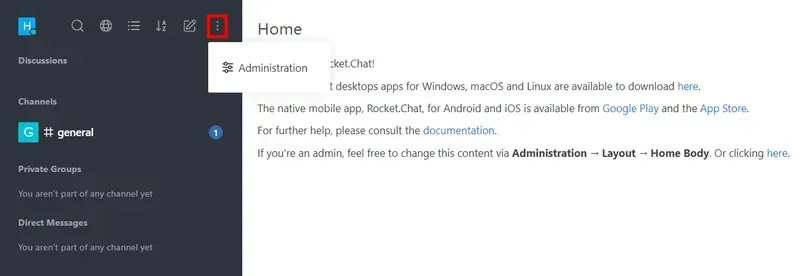
11. Access the administration panel to make any necessary settings (e.g. adding rooms and users, connecting to other services you may need, setting permissions, etc.).
Integration of Rocket.Chat and Jitsi in the Cloud
If you want to enable video conferencing in your Rocket.Chat application, there are two options available at the moment: RicketChat Meet, which is still under development, and Jitsi Meet. Of course, it is recommended to use Jitsi, which is an excellent open-source platform for easy online meetings. You can use the Jitsi Meet video conferencing platform integrated with Rocket.Chat. We strongly recommend that you set up your own Jitsi server for complete privacy. Just follow the steps below to install Jitsi on your own infrastructure, add the Jitsi application and configure the settings for meetings.
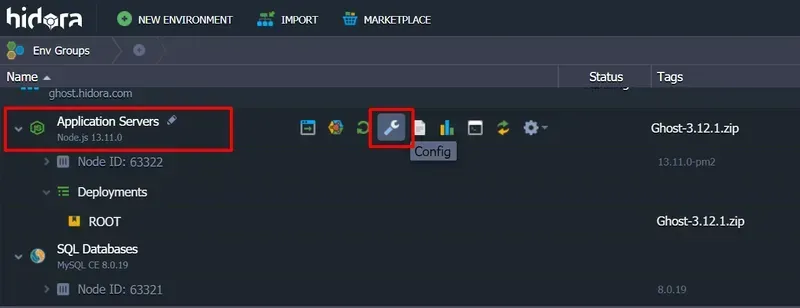
1. Return to the Hidora Cloud administration panel and configure Jitsi from the marketplace.
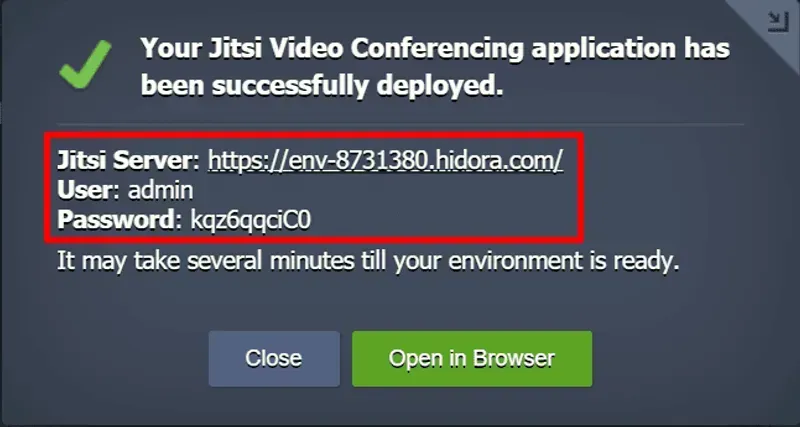
2. In about two minutes, the deployment process will be completed and you will see the dialog window with the Jitsi Video Conferencing administrator credentials and the link to the application.

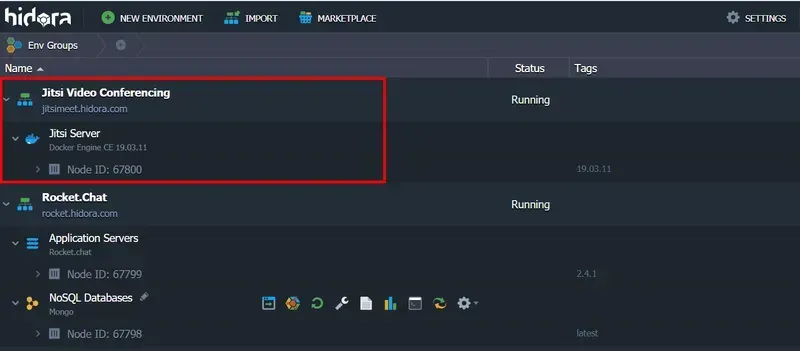
3. The Jitsi Video Conferencing environment will also appear on your Hidora dashboard.
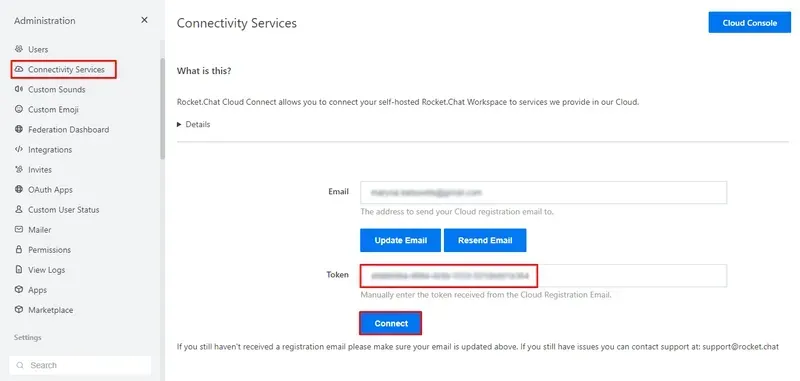
4. Open your Rocket.Chat workspace, go to Administration > Connectivity Services and register the Cloud account. This allows you to connect your self-hosted workspace to the services available on Rocket.Chat Cloud.
5. Once the workspace is successfully linked to your Rocket.Chat Cloud account, go to the Marketplace.
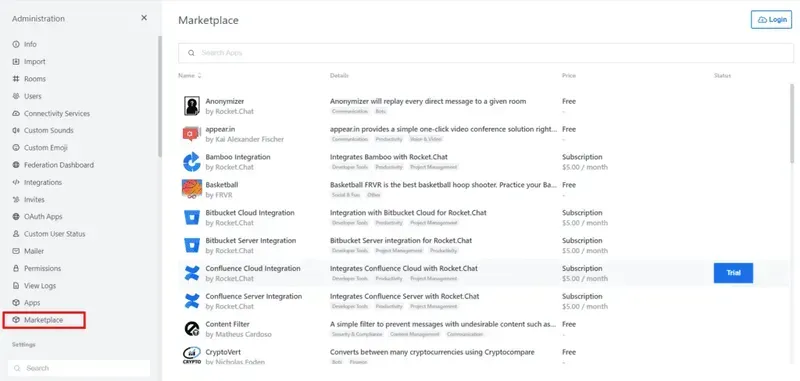
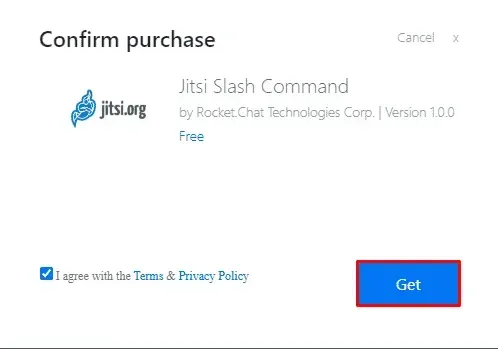
6. Find the Jitsi Slash Command application.
7. Confirm the installation of Jitsi Slash Command.
8. Once the installation is complete, navigate to Video Conferencing and specify the domain of the self-hosted Jitsi server from your Hidora dashboard (in our case, it is jitsimeet.hidora.com). Also look at the available settings and change them if necessary for your video calls. Don’t forget to save the changes.
9. Once this is done, you can simply type in any chat /jitsi workspace with the name of a room or without and the Jitsi Meet conference will be created.
10. Use the generated link to start the video call. The Jitsi administrator credentials were sent to your email address after the application was deployed from the Hidora marketplace. Log in with these credentials, grant the application access to your camera and microphone, configure other video call settings if necessary and you can start the meeting.
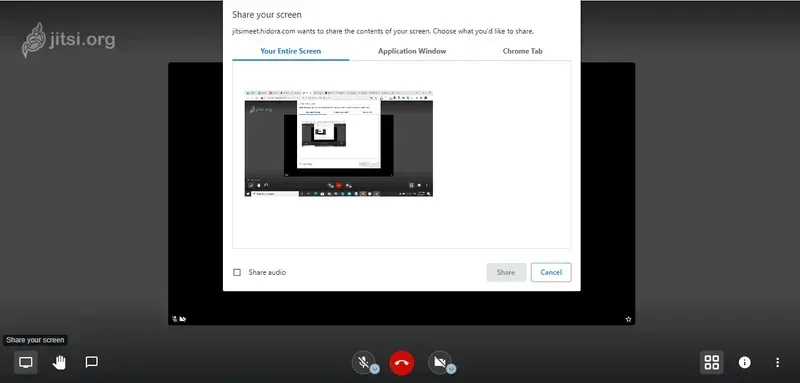
Enjoy a reliable and robust group video chat, audio chat and screen sharing experience from the start and keep all your communications completely private and secure with Rocket.Chat, Jitsi Meet and Hidora Cloud.